Content
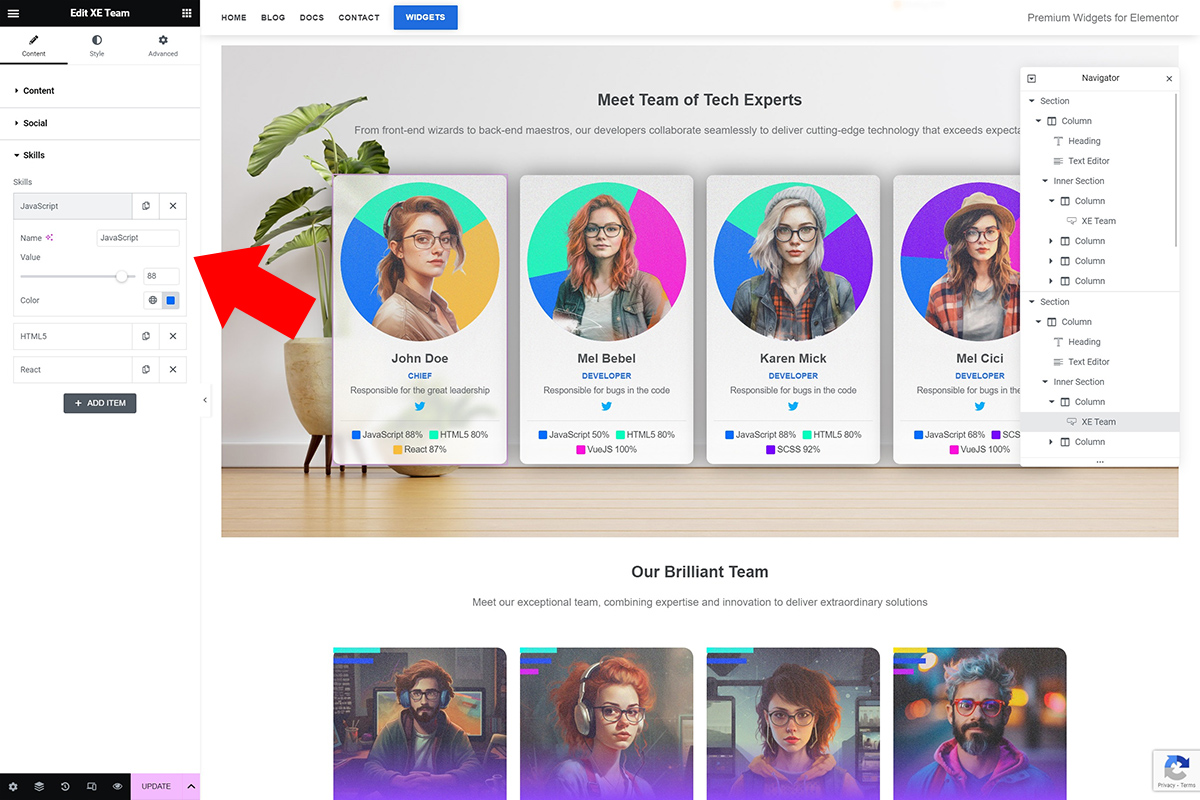
Widget content settings are separated into three tabs, Content, Social and Skills.
Content
Photo - Sets the photo of a team member.
Name - Enter name of the team member.
Position - Here you can write a position the crew worker is on, but you can be creative.
Description - Description is a longer text. It's used similarly as position. Either use to enter biography, short desc, roles etc.
Social
Here you can set the team member social network links. Use the Social Networks manager. Click Add Item to add new social network. Inside you can set the Icon, Name, Link and Color. These will be used to create icon list.
Name - This is the name or the label for this option.
Icon - Sets the icon of the social network. Use Elementor libraries.
Link - Add a link for this social icon by pasting an url to the profile.
Color - Color is used for the text and the choosen icon.
Add as many links as you need. This option can be used creativly. You can add a read more button or something similar, doesn't have to be about the social networks.
Skills
In the Skills section a similar manager is used to add team member skills. Use th Add Item button to add new skill.
Name - This is the name or the label for this option.
Value - Skills have percentage values. Set the value for team member skill here.
Color - Color is used for the text, but also for the pie chart or the bar chart.
If you don't want to use the Social or the Skills texts or icons, you can disable them in the Styles tab.
